This is one of the earliest things to do in Valheim and it is quite crucial to make one as fast as possible to withstand the weather and unlock many other things to progress in the game.
The crafting and building system in Valheim is quite unique as there are conditions you need to meet to make your home considered a shelter in Valheim. This article will teach you how to build a base in Valheim properly and what benefits you can get from it.
Gathering Resources
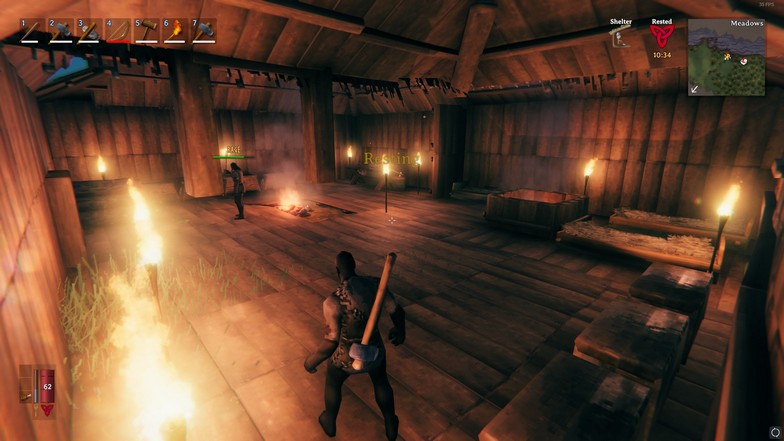
You need to farm as much wood as you can and get all the stones and flints you can find while doing so. If you are playing solo, you can choose to get around 2 to 3 stacks of wood depending on how big you want your shelter to be. You can read more about farming wood efficiently here.
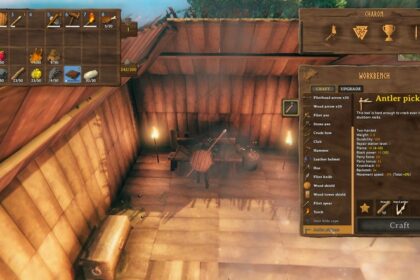
Once you find enough resources, you need to craft a hammer by pressing “Tab” and use 3 wood and 2 stones to craft it. This will let you build the foundation of your shelter including the roof and pillars if you prefer a larger home.
Best Location for Your Home
The best location you can find should be near the ocean or a river. The benefits you can get from these are easily farmable flints, stones, and an easily accessible raft to sail around the island. It would be a bonus if it is also near your starting point with the Sacrificial Altar and other altars such as Eikthyr.
Necks, boars, and deer can be seen around the island frequently so it does not matter if you find yourself scarce on the resources they drop as it is completely random. It just takes a little time for exploring and grinding.
Strategy for Building Your Home
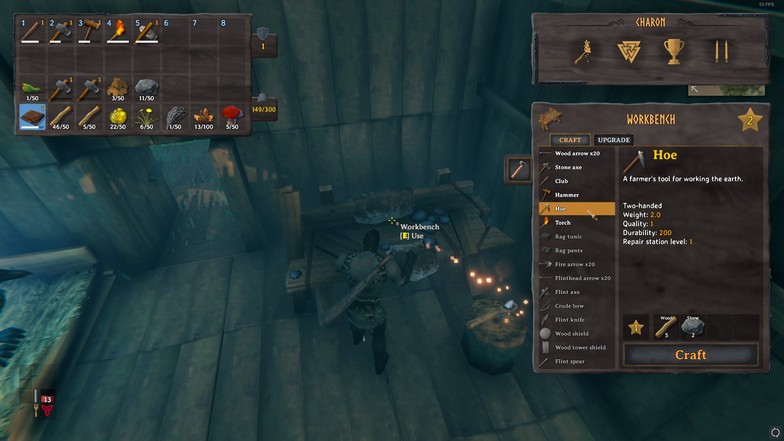
After finding the perfect location for your shelter, you might find the ground to be uneven, and crafting a hoe will be perfect for flattening the land before you start building the foundation of your shelter.
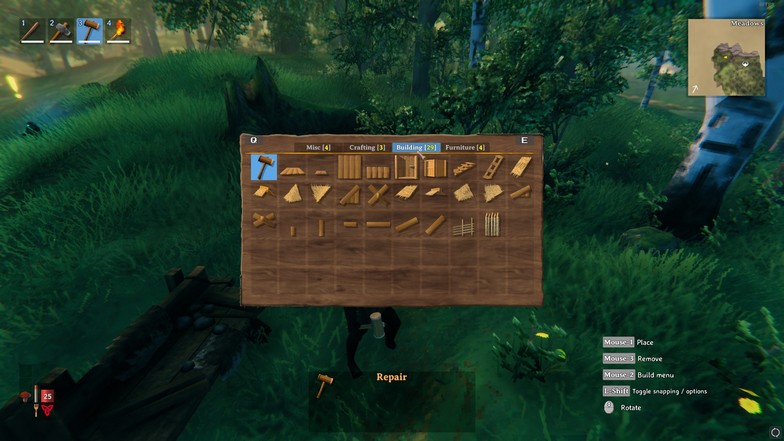
There are two main things you need to activate in your shelter. Your bed or respawn point to gain the rested buff and to use the workbench. In order to use these, your shelter needs to have a roof and supporting foundations to keep everything up and symmetrical.
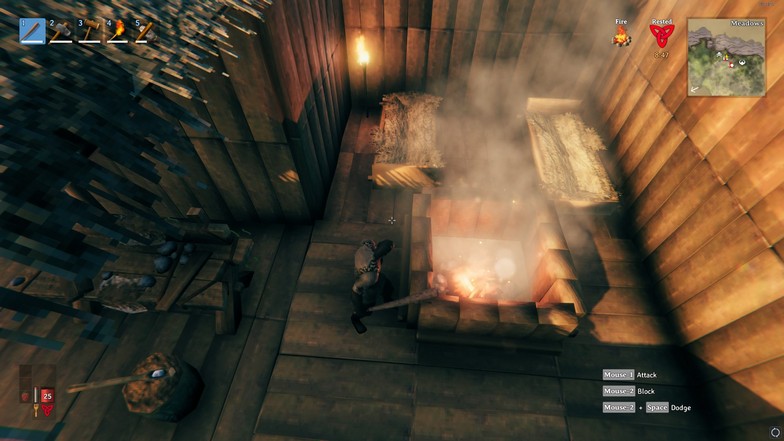
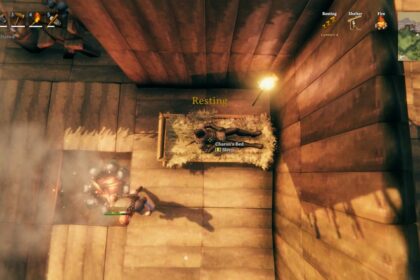
First things first, when you are putting your bed, you will not be able to use it unless there is a roof on top of your head and there is a campfire near you. A standing torch will not cut it and placing a campfire on built flooring is not possible. Instead, you need to remove one tile of flooring near your bed and adjust everything accordingly.
Place the campfire under it which is on the ground and just decorate it as you please or just leave a hole there. You can even use a cooking station as your heat source for sleeping and it is also a good strategy to save space.
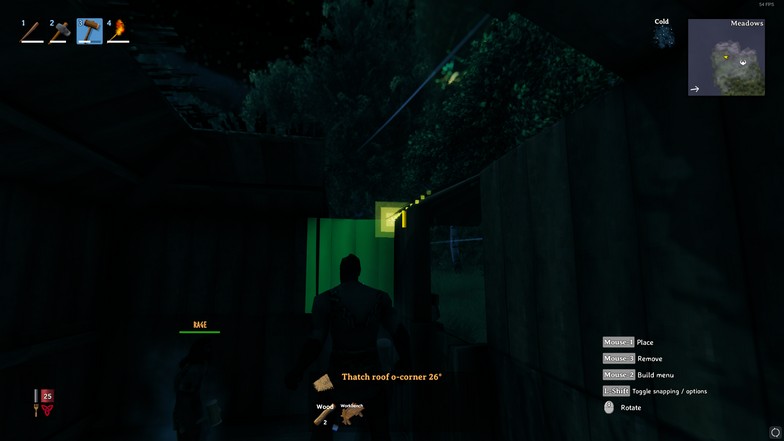
Next on the list is taking care of the roof. You start building roof corners with your hammer. Rotate and snap them accordingly to each corner by playing with the shift button and the mouse scroll wheel. You will see a yellow square marking and just keep a keen eye for it when it is exactly at the corner to confirm that it is snapped and just use the mouse scroll wheel to rotate.
Use this for all sides and start building each roof variant to complete the roof. You might think that it is good to keep the roof incomplete and just cover the side of where the bed is so that you can sleep on it.
The bad thing about doing this is that when it rains and the insides of your shelter get wet, your foundation and walls deteriorate faster. So it is best to complete your roof and spend that extra resource that is easily farmable anyway.
Another problem you might encounter is where you need multiple pillars to support your roof structure. This is incredibly complicated and it is quite surprising and amazing at the same time that Valheim goes into this much detail for it. Add a couple of pillars to support your shelter if the shelter you built is large enough to need them.
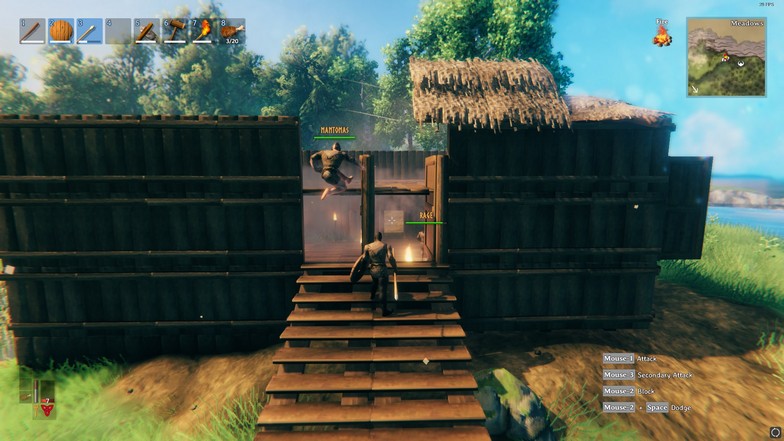
Make sure they are symmetrical and placed near the corners of the room and just keep snapping roofs on top of them. Another issue that can arise is cooking a ton of food when you are grouped up with multiple players in a single shelter. It can smoke up the whole room and cause a debuff to players and take 2 damage per second because they are unable to breathe properly. Another nice touch by the developers to add more layers of depth into building.
Portals, Portals, and More Portals
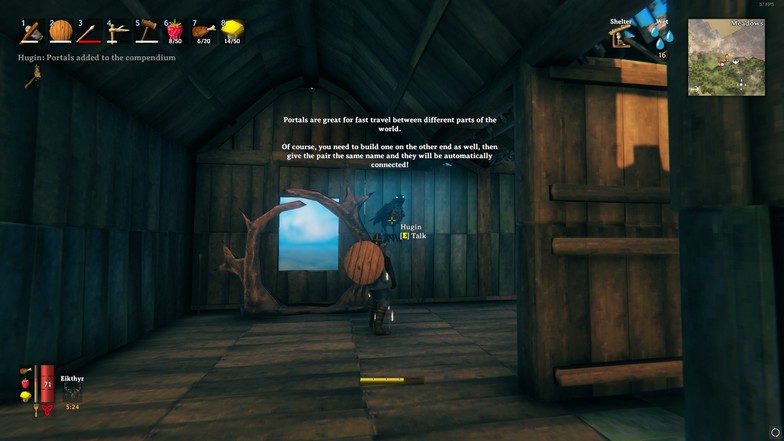
Portals are unlocked by acquiring Surtling Cores, Greydwarf Eyes, and fine wood. This will be your main way of transportation but this will only be usable without carrying any ores. For every outpost or base you have, there should be a portal that leads to your main shelter.
This gives you a much larger radius for farming resources especially core wood, fine wood, and stone which are needed in high amounts near the end. You can create portals on the same island as long as you have the materials to produce a ton of portals. It just makes things easier.
Portals can be made without roofs or anything so the trick is to always have a portal inside your base with an open tag set already. For example, before exploring the ocean to find the plains biome, make a portal in the main base already with a tag set with “plains”. Once you explore the plains biome, you can make an emergency portal by just building a workbench and a couple of wooden floors to place the portal on.
In this scenario, you might have goblins, or serpents trying to destroy your ship or even kill you. You can make an emergency portal just to save your items and leave your ship by going back to the base. It is better to be safe than lose all your items.
Conclusion
There are many ways you can play this as building multiple bases in one playthrough is also a good strategy (possibly the best one) once you progress further in the game. Even with the problems of splitting resources per base, it is still efficient if you know where optimal bases should be placed like near key locations and grindable mobs for scarce resources.

